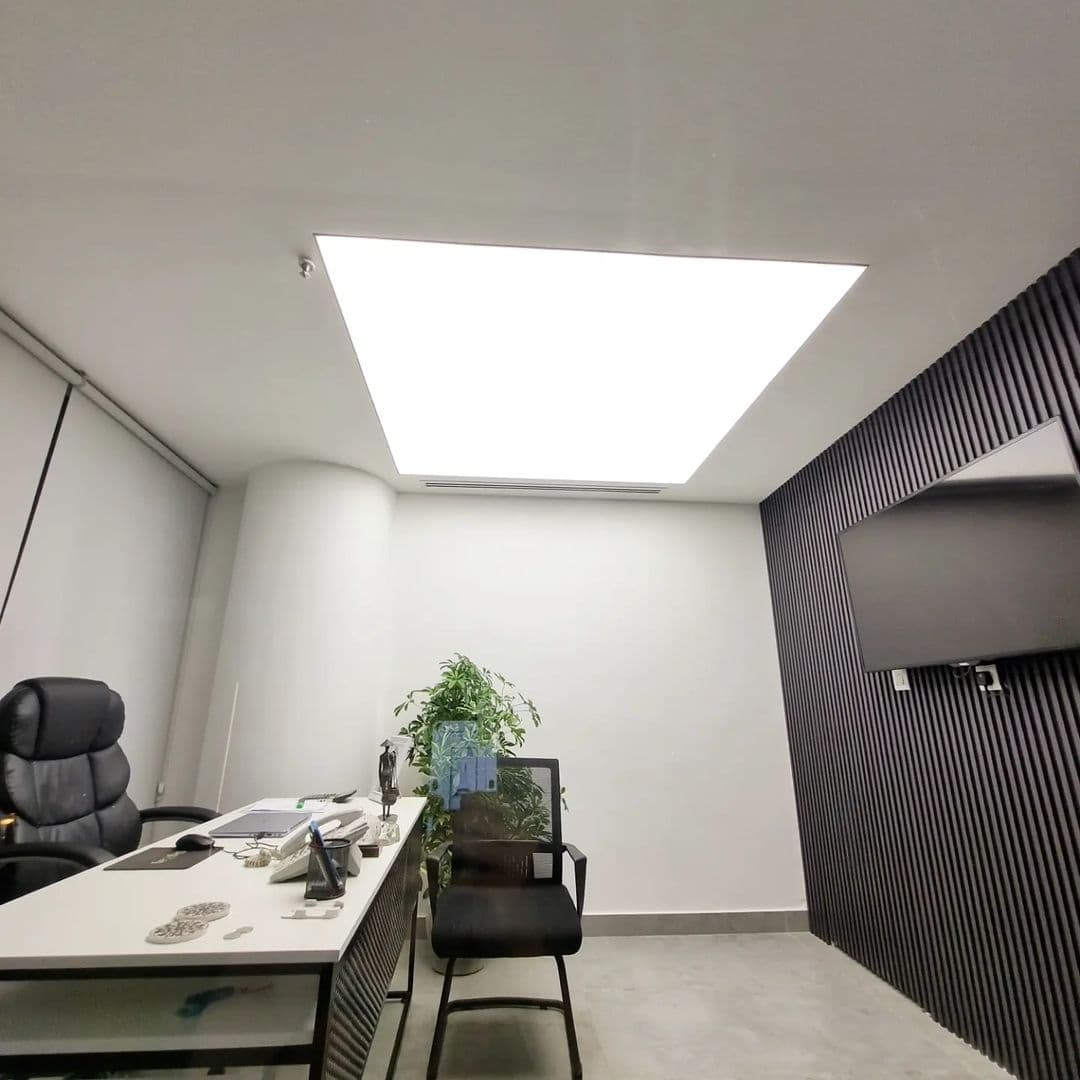
For architects
Stretch ceiling installation process, step by step
From the site survey to handover: what happens during a stretch ceiling installation and how to prepare your room.
By Skyceil team · · 1 min read
Editorial draft — general guidance awaiting review by the Skyceil team. Confirm details for your project with us.
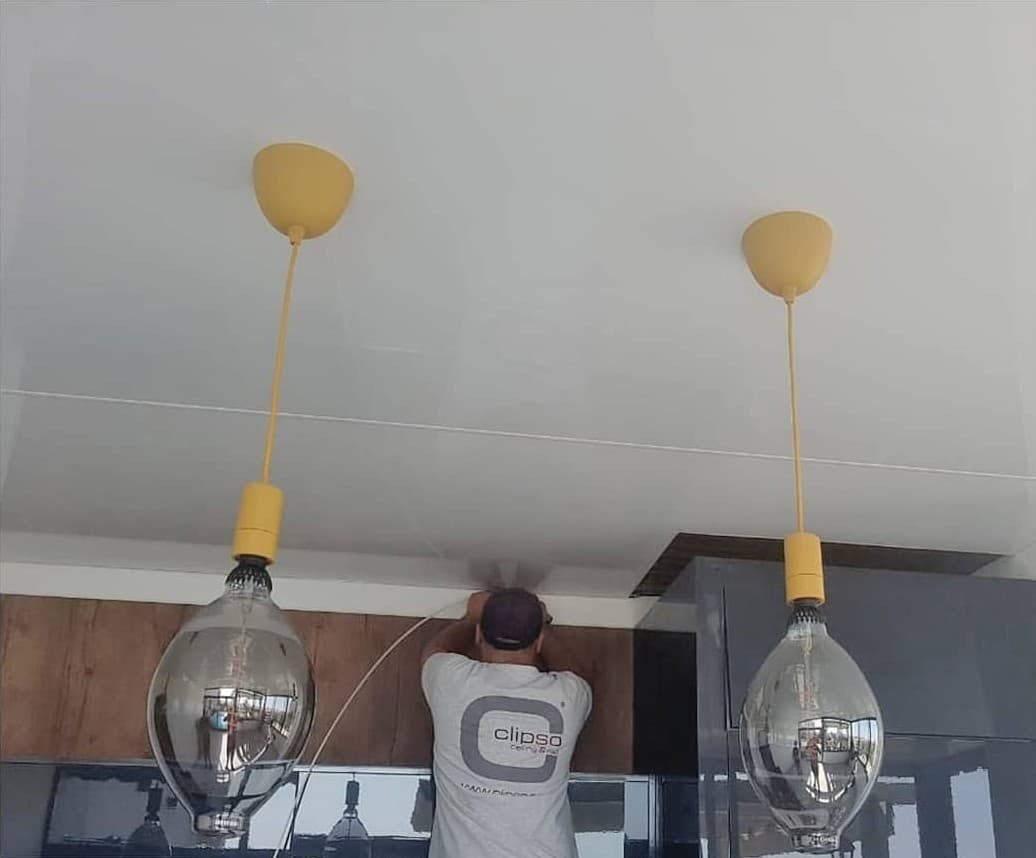
Stretch ceiling installation is a dry process: there is no plastering, sanding or painting. Here is what to expect, step by step.
1. Site survey
The room is measured and the slab, cavity depth, wiring, AC positions and wall surfaces are checked. For backlit ceilings, the depth available above the membrane matters most.
2. Design and quotation
Finish, lighting layout and any print are agreed. You receive a written quotation that lists the membrane, profiles, lighting and installation scope.
3. Preparing the room
- Finish electrical, AC and painting work.
- Repair any leaks above the ceiling.
- Clear space along the walls and cover furniture nearby.
4. Profiles and lighting
Perimeter profiles are fixed around the room at the new ceiling level. LEDs, light fittings and their drivers are installed and tested before the membrane goes in.
5. Installing the membrane
The made-to-measure membrane is stretched and locked into the profiles. Openings for lights, fans, AC grilles and detectors are reinforced so fittings are fixed securely.
6. Handover
Lighting is tested again, the finish is checked with you, and care guidance is explained.
How long does it take?
It depends on the area, the design and whether the site is ready. Simple rooms are much quicker than POP work; complex 3D or backlit ceilings take longer. The schedule is confirmed with your quotation.